With my girlfriend’s birthday approaching, this project began out as a simple “build a decent sounding bluetooth speaker” exercise. As usual it turned into a 3 month long project with a rush to complete in time for the deadline.
Prototyping
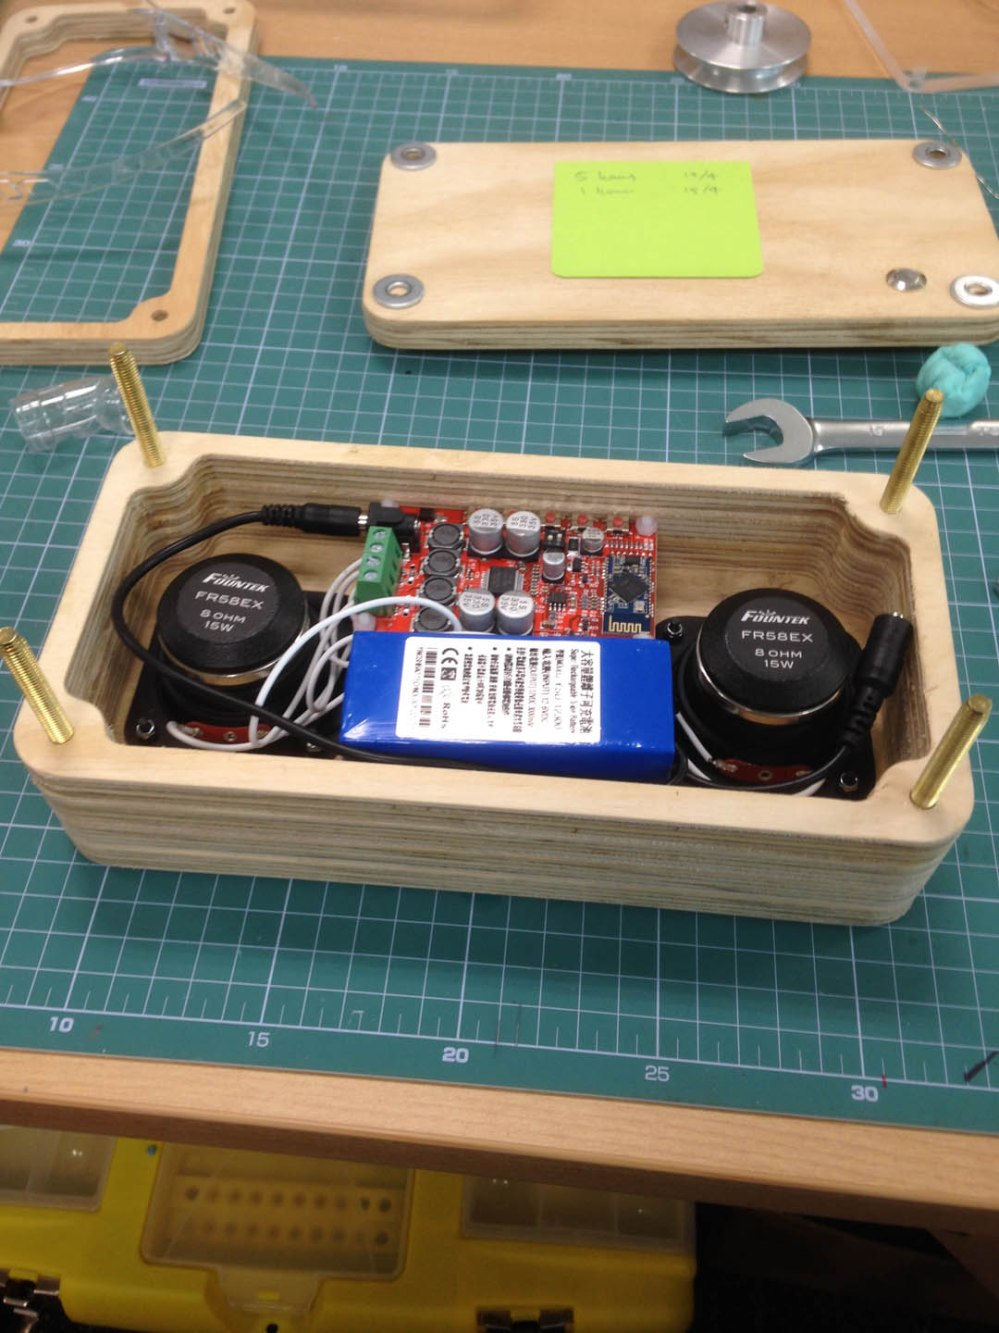
I started off with an integrated bluetooth receiver/amplifier board, a 12V 3000mAh LiPo battery pack and a pair of Fountek FR58EX 2″ Neodymium Full Range Speaker Drivers. Prior to receiving the battery pack I mocked up a quick enclosure using a sealed plastic container to test the functionality of the components.

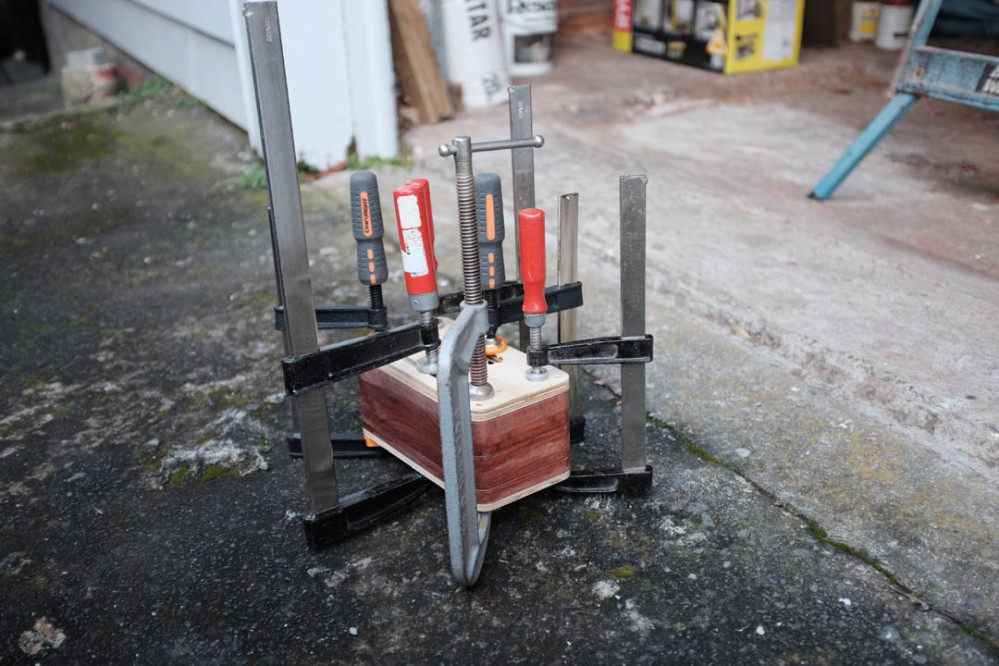
The next step was to build a more robust prototype, I used my CNC Router to cut some 12 mm plywood. Held together with long bolts the layered construction allowed me to easily adjust the enclosure volume by adding and removing layers. There are obviously optimum enclosure specifications which can be calculated for these drivers using the supplier issued Theile-Small Parameters. I found the results to be slightly larger (1132 cubic centimeters) than what I was willing to accommodate, as one of the main goals of this project was to keep the overall size to a minimum. Although, I was interested in experimenting with the enclosure volume to see what effect it had an effect on the sound.
I also opted to include a passive radiator into the design as I had discovered during my research that many of the small commercially available Bluetooth speakers employed this technology to enhance the sound characteristics. I won’t go into detail about the physics of how this works but it is similar to the traditional bass reflex designs, where a specifically sized “port” is built into the enclosure and “tuned” to enhance specific frequencies, which in most cases are the lower (bass) end of the frequency range. The passive radiator achieves this as it consists of a small mass which is suspended and free to move on a rubber suspension.

It was a tight fit but I managed to get everything to fit inside the enclosure. I life tested this setup and it ran for over 20 hours at a moderate listening volume before the battery required charging.

I used my father’s (Dark Lantern) Radio Shack Sound Pressure Level Meter (SPL) to plot the frequency response of a few different configurations, including different enclosure volumes as well as with/without the presence of a passive radiator.

As mentioned above, the passive radiator functions somewhat like a bass reflex port. Like a port, it can be tuned to be active at a specific (resonant) frequency, this tuning of a passive radiator can be achieved by altering the mass of the radiator diaphragm. I decided to experiment with this tuning by CNC routing a circular pocket of material out of the back of the diaphragm (below), therefore reducing its mass, and in theory resulting in a higher resonant frequency.

The graph below shows some of the resulting frequency response plots from my testing. It shows that the three different enclosures sizes I tried had very little effect on the measured frequency response. Interestingly, the lightened passive radiator shows a significant shift in response from 400 Hz to 300 Hz. If this were the resonant frequency of the passive radiator we would except the modification (reduction of mass) to have the opposite effect. At this point I am not sure why we are seeing this behavior, surely an explanation can be found with deeper analysis of physics of this problem. Which is something that I deemed out of the scope of this project.

Regardless of the testing and analysis, the most important thing is that the speaker sounded “good” for general listening. In its current setup I didn’t think it passed this ear test, it sounded slightly harsh/fatiguing and there was a lack of bass for the most part.
I decided to re-think the whole setup and came to the conclusion that it would be best to omit the passive radiator and use the space to house larger Tang-Band (W3-1053SC) 3″ full-range drivers. The electronics also got an upgrade, a Sure (AA-AB41136) Bluetooth Audio Receiver Board and (AA-AB32155) 2x15W Class-D Audio Amplifier.
It has been shown by several commercial companies that great results are possible using small full range drivers paired with passive radiators. Although I think it is difficult to achieve with off-the-shelf components, it seems that proprietary electronics and custom hardware is required.

Final Build

I managed to acquire a large (3 m long) slab of mahogany from the dumpster in my apartment building, it had previously been used as an office reception desk. The material was 40 mm thick with a polyurethane finish on both sides. I required planks of 15 mm and 35 mm thicknesses, the front grill was 15 mm thick and the main enclosure was to have two 35 mm and a 15 mm thick part laminated together. The first step was to use a thicknesser to achieve the right thickness and prep both sides.


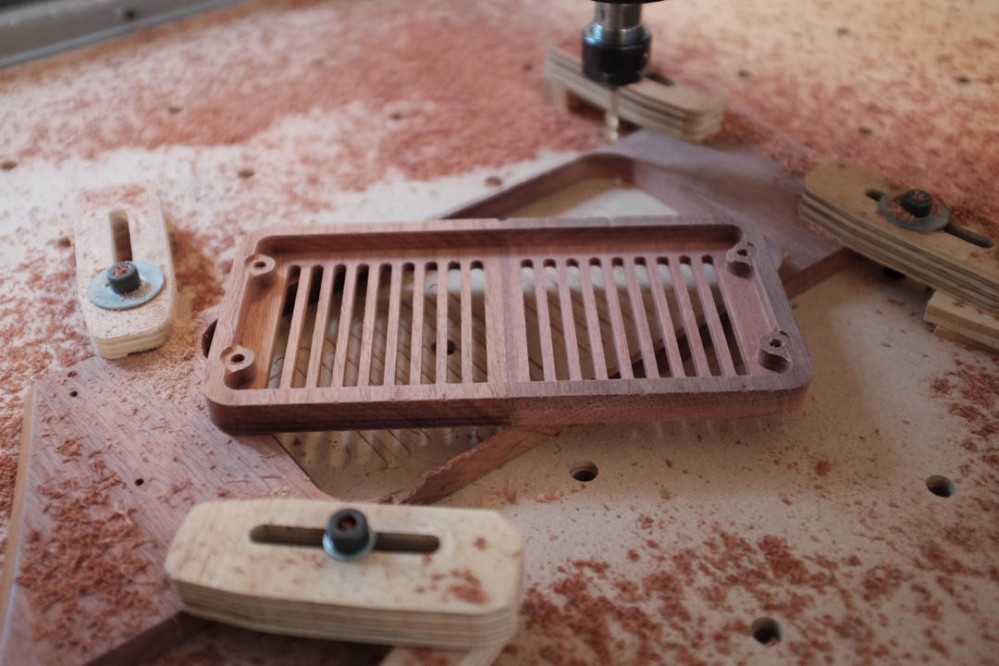
My CNC router was used to machine all of the wooden components, a video showing some of this process is below. Unfortunately I was having technical issues with my GoPro so the video is slightly short and disjointed.


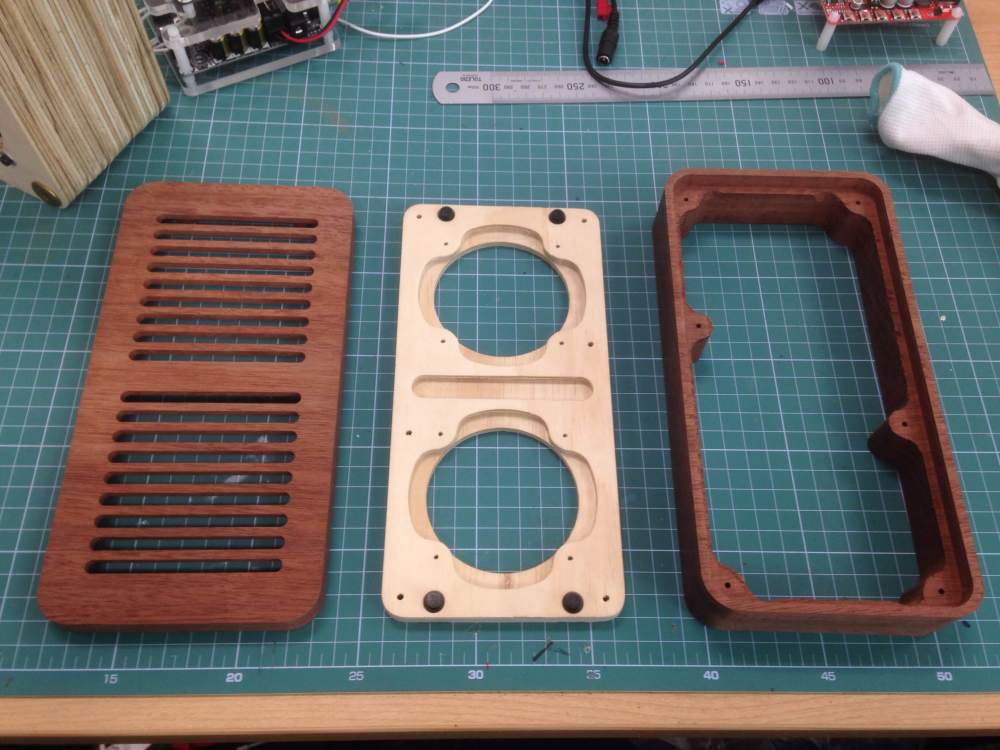
The image below shows the grill, plywood baffle and the front-most 35 mm thick section of the enclosure. I had some trouble with chipping of the thin wall sections of some of the components, this was alleviated by clamping a sacrificial sheet of wood on top of the mahogany during the first router passes.
Test fitting with press-fit grill mounts installed.

The main (35 mm thick) sections of the body were profile cut and then later laminated with the back (15 mm thick) section. By laminating the timber post-cutting I was able to avoid pocketing out the whole 77 mm deep internal volume of the enclosure. Instead, simple profiling cuts were used to remove the majority of the material. Care was taken to align the sections during glueing to minimise the amount of sanding required.
Everything mounted inside before affixing the baffle to the enclosure.


The exterior was finished with Briwax, a great product which was easy to apply and produces a very nice finish.

The only external features are a power button and 12 V charging port. The battery I purchased from eBay was supplied with a wall-wart style charger, this was ideal as the charger had integrated charging and full charge lights built in.

The grill is attached using press fit grill guides and is easily removable.

Final Notes
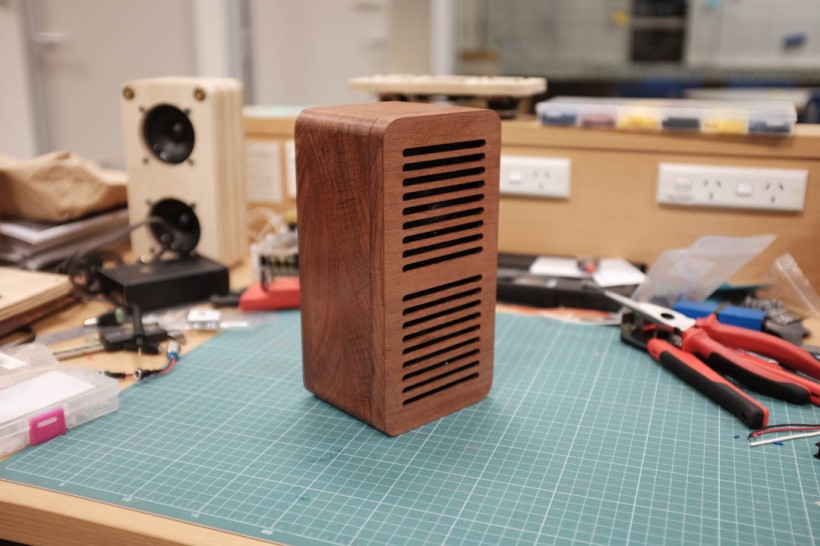
Overall I am very happy with how this project turned out and the gift was well received!
The only comment was that even at the lowest (iPhone) volume setting, the sound output was quite loud and not suitable for quiet listening sessions. This was fixed by adding some 10 ohm resistors arranged in a simple voltage divider between the amplifier outputs and the speaker drivers.

Where did you find the schematics for the speaker portion. I like this. You did a great job. This seems like a perfect little project, now I want to do this.
LikeLike
Hi Trent, I purchased the bluetooth and amp boards and just wire them together with a power supply! Search for Sure Audio, they make some good amp boards and also a combo board with bluetooth integrated.
LikeLike
Great project ! I’m gonna try this out too.
Would there be a way to add an 3.5mm input to the amp ? How would you go about doing this to have both bluetooth and a 3.5 mm jack?
LikeLike
It should be really easy now that Sure have just released this new combo board, it is an amp and bluetooth receiver combined and has heaps of other extras like a 3.5 mm jack cable included! I would use this board if I were to build this speaker again. http://www.parts-express.com/wondom-aa-ac11160-2x15w-4-8-ohm-class-d-audio-amplifier-board-bt21-with-functional-cables–320-3518
LikeLike
how does it sound? how much enjoyable is the bass? what is the volume of the box?
LikeLike
Hi, thanks for the comment, it sounds really good. The Sure amp has plenty of power and the bass isn’t super heavy but definitely present.
LikeLike