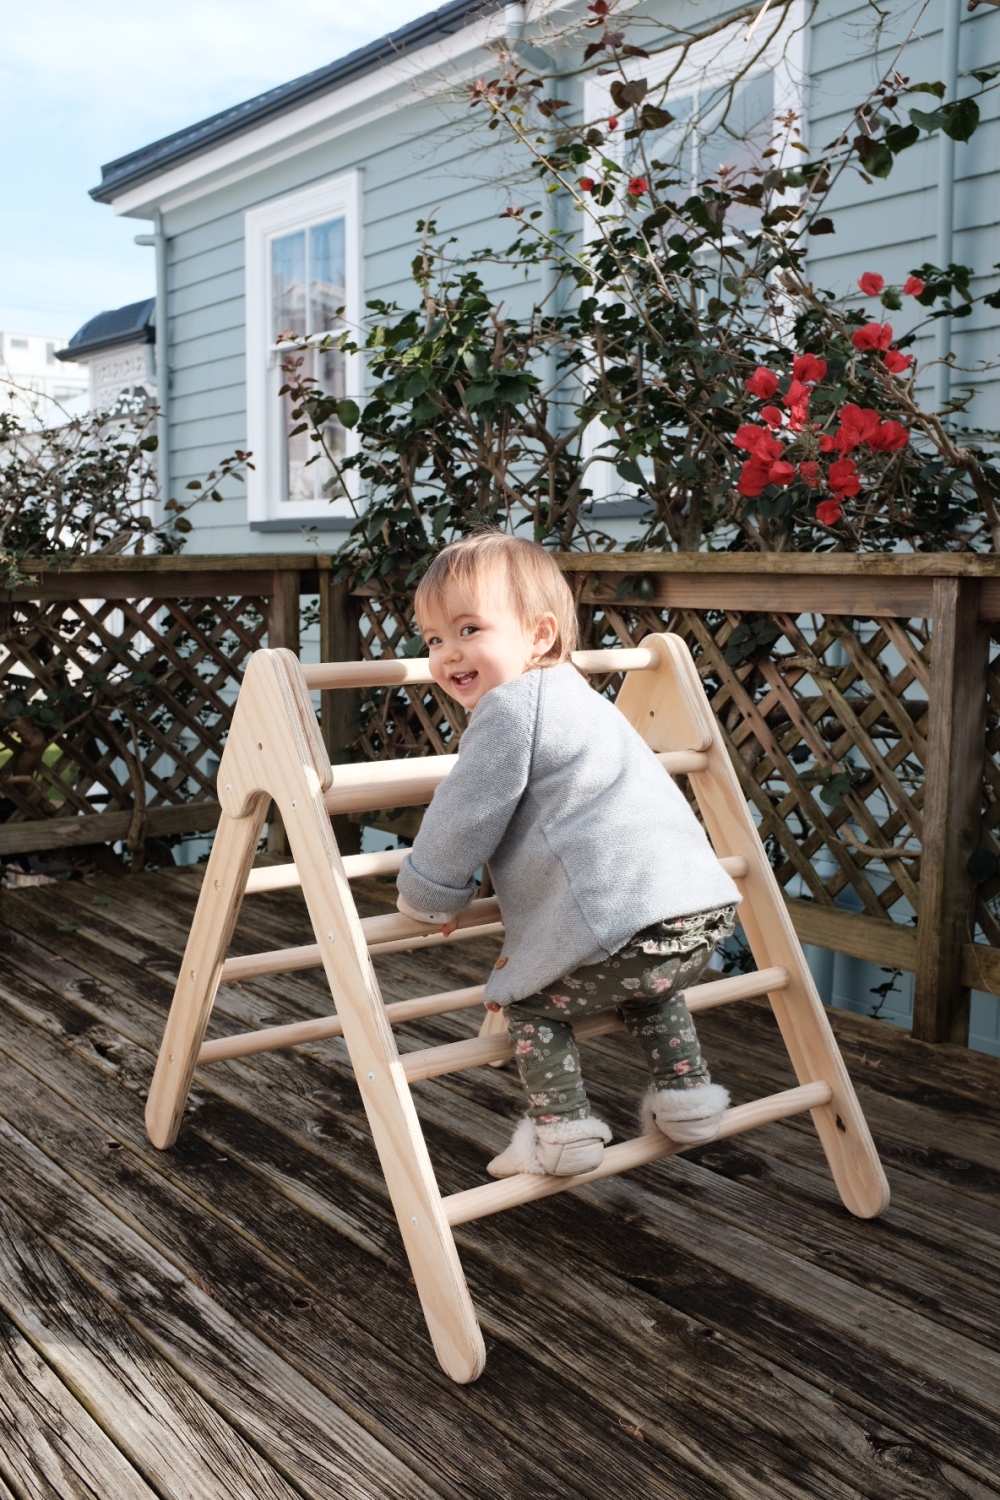
This is my design for a Pikler Triangle, also known as a Montessori Climbing Gym. I had heard these were great for your child’s mental and physical development and wanted to build one for my daughter. It’s a fairly simple design but I think the key distinguishing feature is that it can be opened or closed quickly without any fasteners or tools.
For the main legs I used 18 mm pine plywood. The dowels were also pine and 28 mm in diameter, the diameter isn’t critical, anything around that size should be fine. All timber is un-treated and left with a natural finish.
If you would like to build your own triangle and also support my website you can purchase the plans and extra build notes from my Etsy store.
Some of the photos in this blog post are of a prototype triangle so there may be some extra little features which are not in the final plans. For example, in the original prototype I drilled 8 mm holes in the top of the four legs to allow for a screw to lock the triangle open, I found that this was unnecessary and was therefore omitted from the final design.
I used my CNC router to cut the legs but there is no reason why you couldn’t use simple tools such as a jigsaw and drill press with a forstner bit. Be sure to use a forstner bit which matches the size of dowel which you are using.


I rounded all the outer edges with a 1/4″ round-over bit in my table router.

Legs are complete after a quick sand.


I used a Japanese hand saw to cut the dowel to length. I cut the 4 dowels for the inner legs to a length of 590 mm. This length isn’t critical, although it is important to complete the inner leg assembly first (as seen in the background of the picture below) so that you can measure the overall width. Use this measurement to determine the length of the outer leg dowels, making consideration for the recess depth which the dowels fit into and also 1-2 mm sliding clearance.
To attach the dowels to the legs I used size 8, 40 mm long wood screws. I chose these screws specifically because they had a large diameter head, which helps to distribute the load when tightened against the wood.
I pre-drilled the dowels using a home-made jig to accept the screws more easily, watch my youtube video (embedded at the bottom of this post) for more details on the jig.
One other critical feature is that you must recess the screws on the outside of the inner legs. This ensures that the legs will slide past each other without hitting the screw head.

This is a picture of the finished triangle.

And my 1.5 year old daughter enjoying it.

Some more close up shots (of the prototype).


I made a Youtube video of this build and I’d recommended watching this if you intend to build a triangle for yourself. There are a few details and build techniques which I may have left off this blog post.
I’m really happy with how this turned out, it looks great and is very practical. The design is now fairly well proven as I ended up making ten triangles for friends with kids around this age and they all love it.
Feel free to download the plans and have a go at building it, and be sure to let me know how you go!
