This project was born out of necessity to assist me with completing the joinery on my OTL Headphone Amp. Although, since completing that project it has proven to be extremely useful, and a great addition to my workshop.
Whilst researching this project I found there were generally two options for the clamping configuration. The main difference being whether the screw is rotating and pinned to the hand-wheels or stationary and locked to the rear jaw whilst in use (opening and closing the jaws). I opted for the latter, the benefits I saw were that the screw was locked in place with a jam but behind the rear jaw and rigidly held, this makes for a more sturdy feeling vise when in use. The downside is that the screws stick out from the front of the vise a fixed distance, but this “stick-out” can be adjusted by loosening the jam nut on the rear and threading the screw in and out and locking back in place. I generally keep the screws quite short (short “stick-out”) which is fine for 90% of the work I do. On the rare occasion where I encounter a job which needs a very wide jaw opening, I make a quick adjustment to the screw’s length.

Above is the design which I opted for, it is fairly similar to many I have seen online.

Above is a cross-section which shows how the hardware is configured. I used standard M20 x 2.5 pitch mild-steel threaded rod and matching nuts.

I had a friend who was also interested in building a vise and he happened to come across this large slab of mystery hardwood in his father’s basement.

We milled it down to rough dimensions. The timber was very splintery and hard, one side in particular had quite a lot of cracking. I think the species is likely to be Jarrah.

To start with, holes were drilled in the rear jaw using my drill press with appropriately sized forstner bits.


A Japenese saw was used to trim the excess from the clamping “ears”.
I drilled a 20 mm clearance hole for the threaded rod to pass through and used the holes to position the nuts and trace around them with a marking knife. A trim router was used to roughly remove the bulk of the material to a depth that would the nut to sit flush (or slightly below) the face of the jaw. I then carefully removed material up to my marking lines and achieve a nice friction fit when the nut was pressed in (very satisfying).


We sourced a 1 m length of M20 threaded rod and cut it into 4 even 250 mm long pieces, enough for two vises.

The front jaw received holes which were slightly slotted to allow some racking of the jaw if I needed to clamp and irregular object.
When cutting these slots, it is important to set up the rear jaw of the vise with the screws installed and locked tight with the jam nuts. I carefully sized the slot so that the op faces of both the front and rear jaws were aligned when resting on the screws.

I cut a nice big chamfer on the front edge, which I think looks great. All of the edges were broken with a small chamfer using my block plane (also very satisfying).


A few coats of polyurethane with light sanding in-between really accentuated the redish colour of the timber. As I mentioned earlier, the timer was dry and the edges were very splintery. I made sure to thin my finish down and apply generous amounts especially to the end grain. This worked to stabilise and hold the timber together.

To make the handles I began with short lengths of 12 mm diamter mild steel rod and cut each one at an angle through the centre, resulting in two shorter pieces with opposite angles.


These were TIG welded onto opposing faces of the M20 nuts.


I bead blasted the handles to achieve a nice even surface, although I don’t think this was really necessary. They were then painted with Rust-oleum metallic paint.


The finishing touch was a layer of leather or cork glued to the rear face of the front jaw.
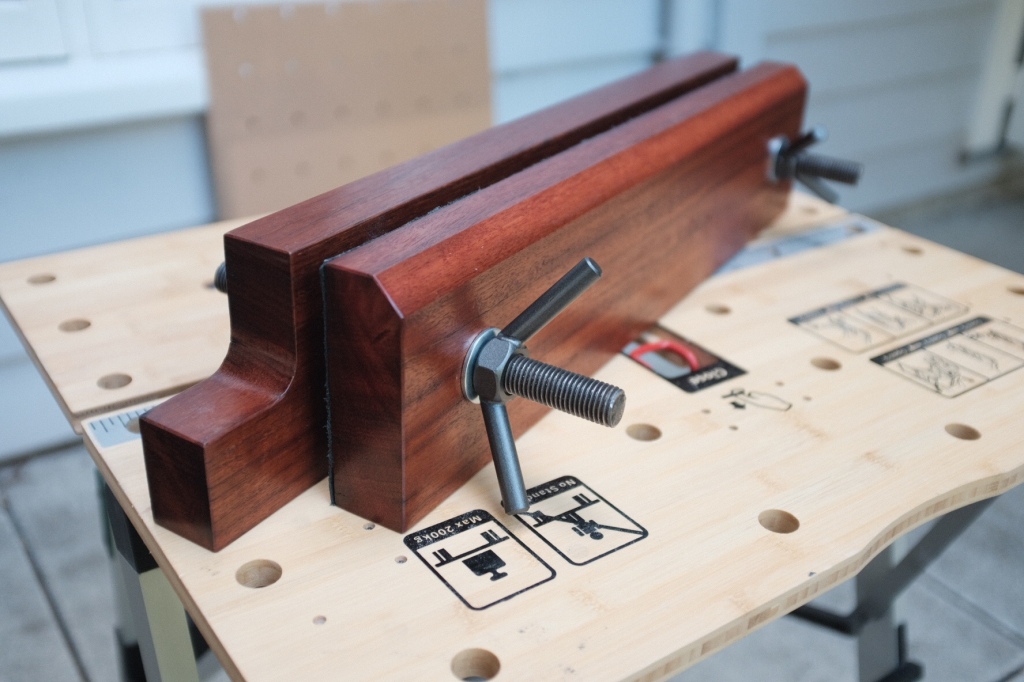
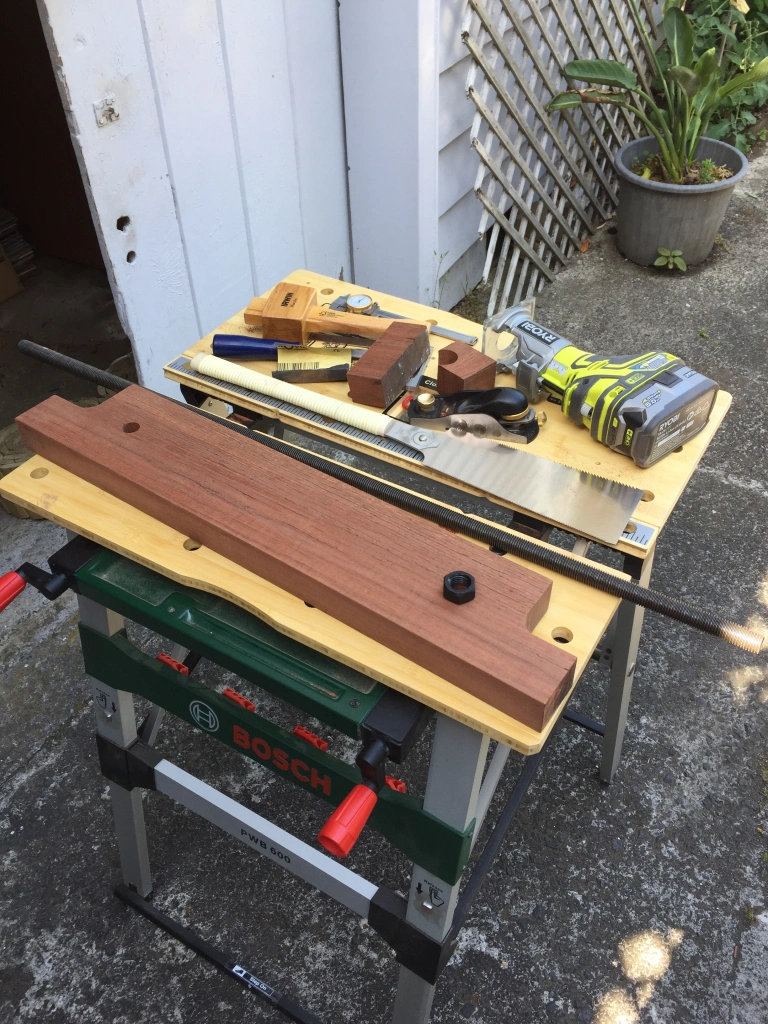
Some photos of the finished vise are shown below. It was only mounted on the Bosch workbench for the purpose of taking photos. This bench is nowhere near sturdy enough to use the vise for any real hand-tool work.
In the future I may convert the vise to a mini workbench by adding a large flat working surface flush to the top face of the jaws as similar examples I have seen online, but for now it functions perfectly as-is.